What happens when you don’t have access to a gym and you want to train your legs? No problem, the pistol squat is your answer. Whether you’re an at-home workout kind of person or someone who simply loves bodyweight training and callisthenics, the pistol squat delivers a lot of benefits and humbles even the best squatters.
Key Takeaways:
- The pistol squat is an effective no equipment movement you can master over time
- In order to do a pistol squat, you need great ankle and hip mobility
- Pistol squats will also increase stability due to the single leg stance
Watch how to do a pistol squat here:
Why are pistol squats so hard?
Unlike other split stance squat movements like the Bulgarian split squat, to execute the pistol squat well you need the following skills or abilities:
- Adequate mobility and stability of the ankle, knee and hip,
- Above average leg strength in a single leg stance and;
- Excellent trunk stability
Without these elements, you will see how the pistol can humble even the strongest person regardless of their back squat numbers. Just like any movement, the pistol squat can be learned by stages and after you’ve completed something like the 10-step self-screen you will know if you’re ready to start the journey.
Related Posts:
- The complete guide to ankle mobility
- Improve your Hip Mobility with this simple process
- Improve your squat form in 4 steps
What are pistol squats good for?
It’s the perfect expression of mobility, stability and strength that can be achieved with minimal to no equipment. It has amazing benefits for runners, cyclists and strength athletes as a beautiful pistol equal great function of the ankles, knees and hips that transfers to better performance.
What muscles does the pistol squat work?
Don’t think of “working muscles” when doing the pistol. Due to the demands on mobility and stability, it isn’t an isolation exercise that you would find in bodybuilding or traditional barbell strength training.
The 7 Steps To Pistol Squat Progression
Here are the seven pistol squat progressions and the suggested reps and set you will need to achieve in order to progress to the next stage. Just like in the Minimalist Easy Strength program or the various bodyweight guides below, progress slowly and only when your body is ready.
Related Posts:
- How To Do A Back Bridge In 5 Simple Steps
- Check out these 5 Minimalist Bodyweight Workouts
- The Best Exercises For Weight Loss At Home
- Dan John Easy Strength | A Minimalist Bodyweight Workout
- How To Learn Hanging Leg Raises
- One Arm Pushup Progression In 7 Simple Steps
- 4 Tips To Do Perfect Pull-Ups
Step 1: Bodyweight squats (air squats) 2×20 reps
Full range and under tension using a slow tempo. This allows you to really isolate any potential restrictions that you need to address. It also goes without saying that if your squat numbers are respectable, this goes a long way to being able to drive out of the bottom of the pistol squat.
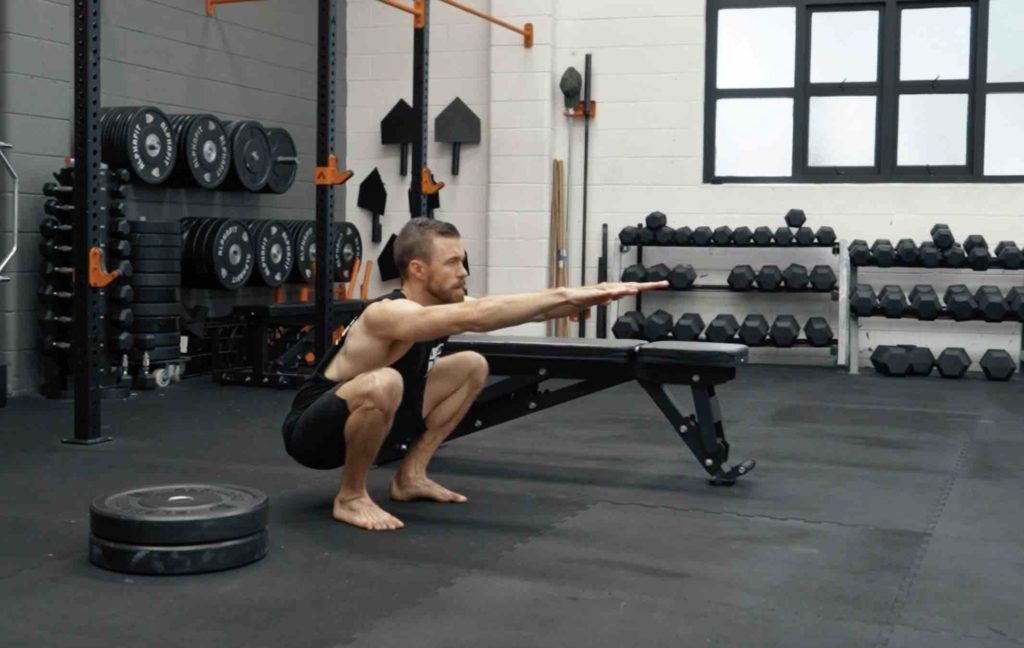
Step 2: Close Feet Squats 2×20
Just like the tempo bodyweight squats before, the close foot position simply adds a stability component for you to get comfortable with before moving to a single leg. You might also find the hip mobility may limit depth which is ok, as shifting to a single leg later in the pistol squat progression will open that mobility and range back up.
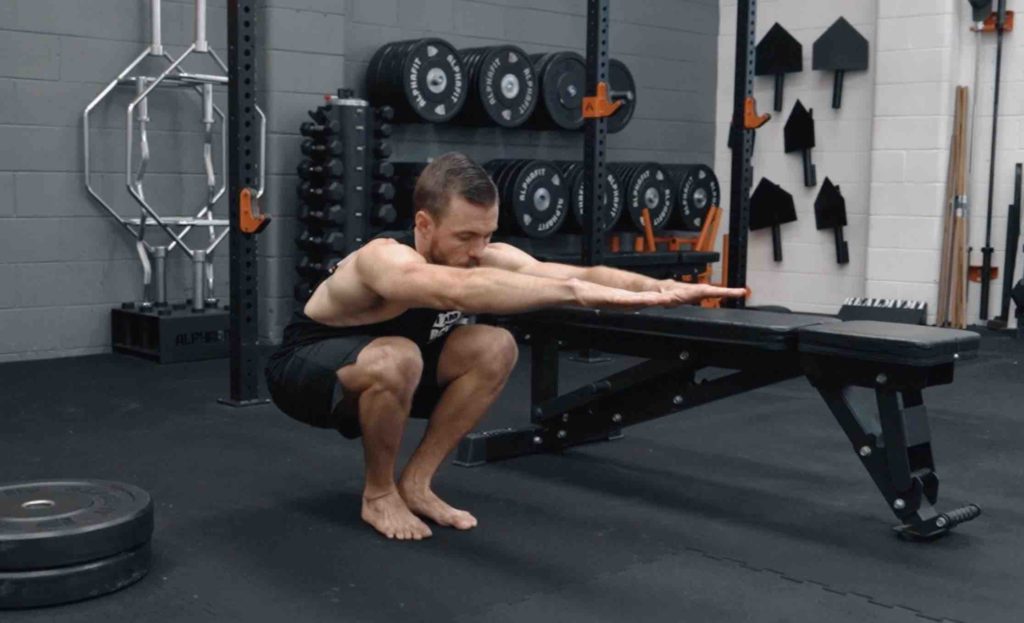
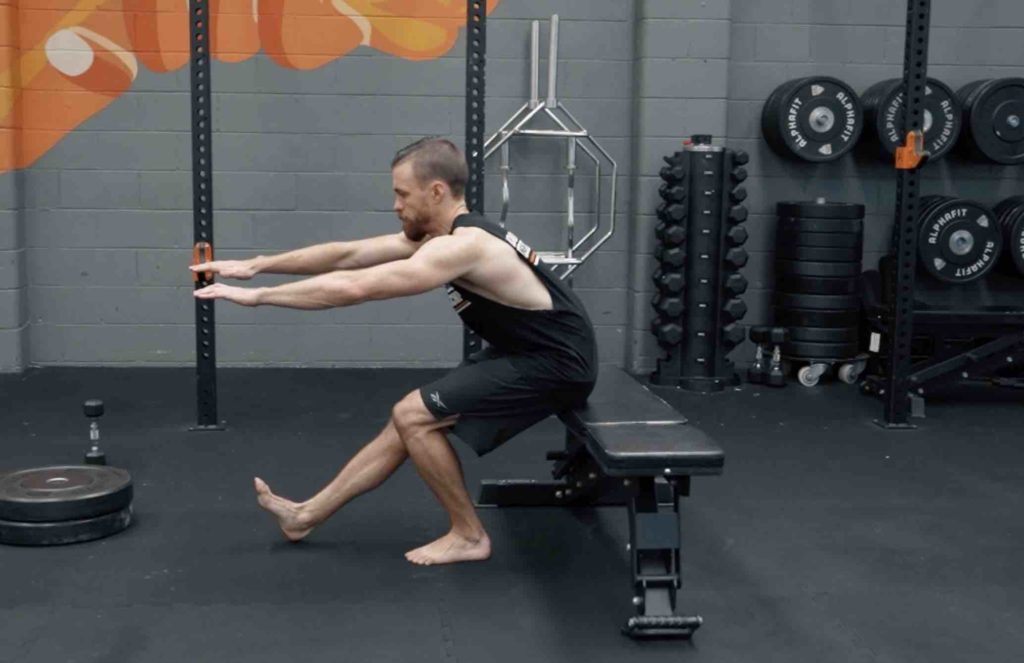
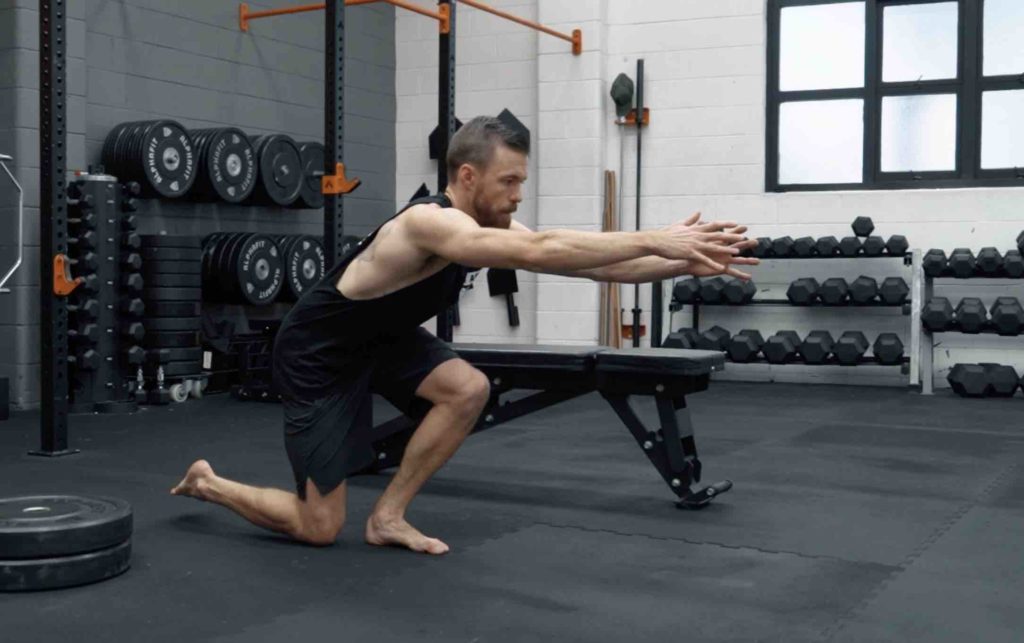
Step 3: Bench Pistol Squat 2×10 each side (e/s)
Here we start the single leg training, by adding the safety of the bench underneath ourselves this allows us to practise partial range pistol squats. The trick is not to lose tension at the bottom of the movement as the bum simply taps the seat and returns to the top.
Step 4: Skater or Airborne Lunge 2×10 e/s
Picking what works for you, these single-leg lunge variations allow you to load the single side to challenge stability in your pistol squat. The movements naturally only allow you to go partial range compared to the pistol but learning stability through the restricted range gets you comfortable with being under tension on a single leg.
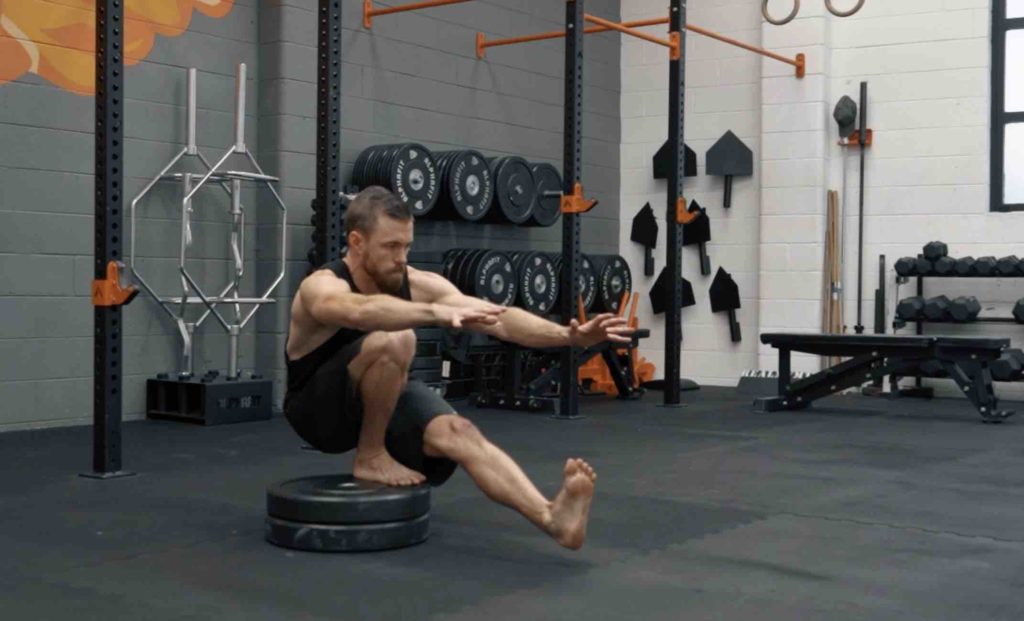
Step 5: Counterbalance Pistol Squat 5×5 e/s
Using a lightweight that gives enough forward leverage we can start to practise full-depth pistol squats. This is where we need to make sure our knees, ankles and hips have adequate mobility and stability through a full range of motion. If your knees seem to be at a weaker point, focus on exercises such as the tib raise, calf raises, reverse step-ups, nordic hamstrings and reverse Nordics to strengthen the muscles around the knee.
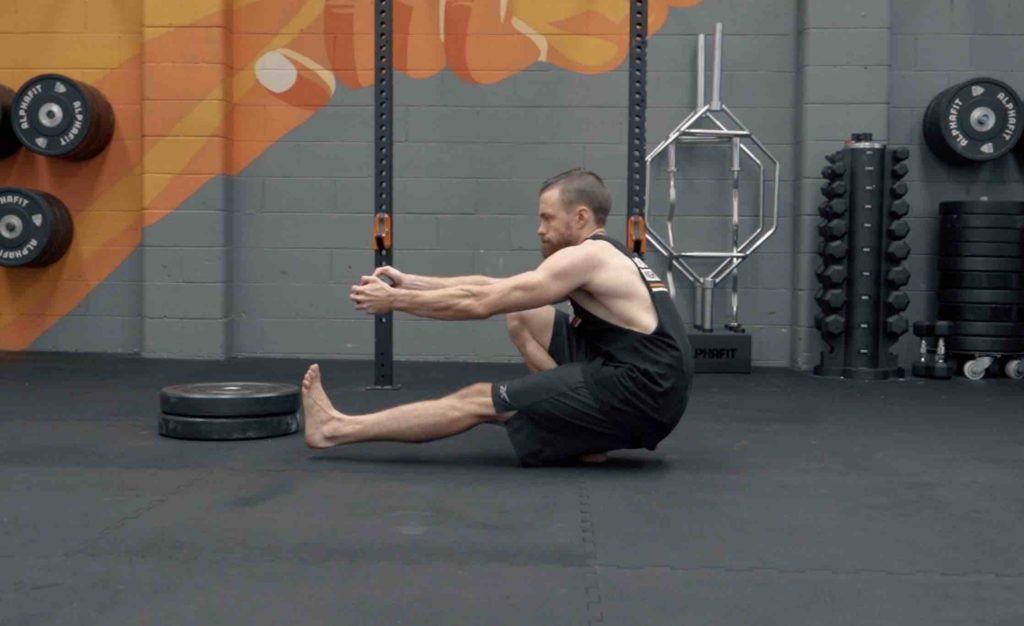
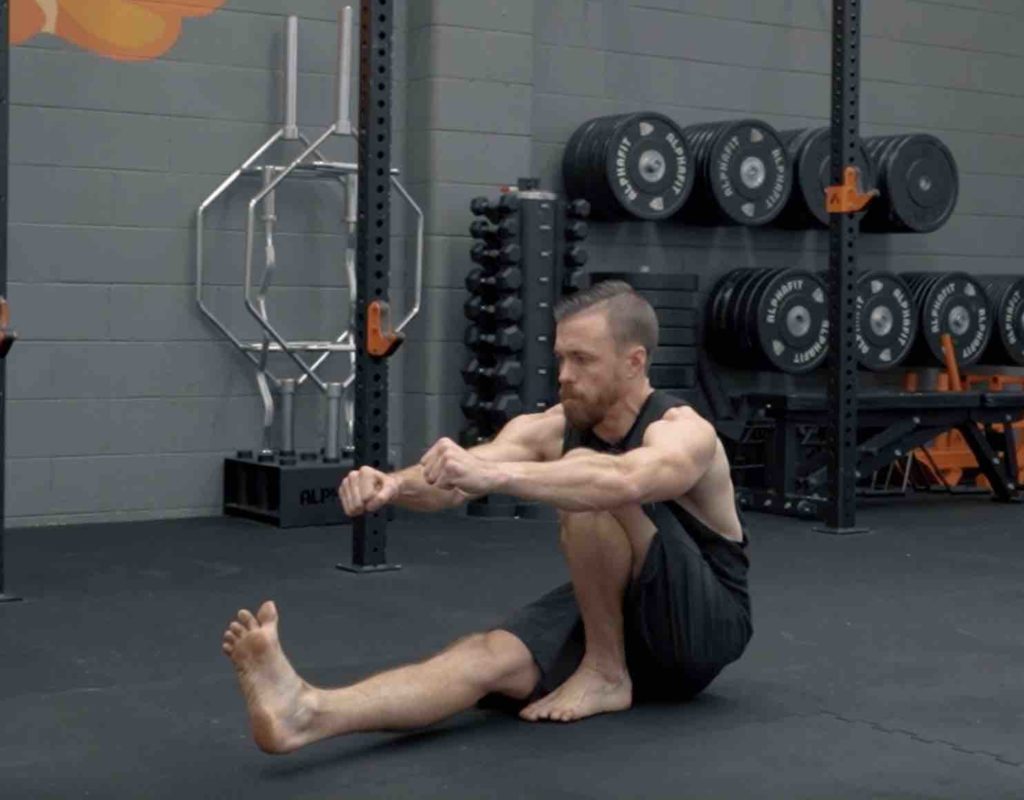
Step 6: Elevated Pistol 5×2 e/s
By removing the weight and adding an elevated surface you’re not going to stress your hip flexors as much on the elevated leg. This is usually a limiting factor in getting to depth on the pistol squat, particularly for men. Get the block or surface high enough that you can allow the outstretched leg to fall below the line of the driving leg. Get comfortable being in and squeezing out of the bottom of the movement.
Step 7: The Full Pistol Squat
Traditionally the final two stages before the full pistol squat are where most people struggle or give up. If you persist with steps 5 and 6 long enough the full pistol will usually come with a relative amount of ease. Be sure to maintain tension throughout the entire movement.