
The first time I saw a one arm pushup, I was 12 years old watching Rocky on a WHS box set. This is one of the first things that got me interested in bodyweight training. Years later, I now teach people how to do a one arm pushup, pull-ups, and pistol squats for a living.
If your goal is to master your body and move well, the one arm pushup might be a great goal for you to conquer.
Key Takeaways:
- The one arm push up is one of the best minimalist exercises to master as it takes no equipment
- One arm push ups will improve shoulder stability and mobility due to the demands on a single arm
- If you’re new to training, start learning one arm push ups with elevated or standard push ups
How hard is the one arm pushup? It’s pretty challenging so I’ve designed 7 steps to master this exercise. This article will take you through the 7 steps of how to do a one arm pushup so you can execute this advanced bodyweight movement.
Related Posts:
- How To Do A Back Bridge In 5 Simple Steps
- Check out these 5 Minimalist Bodyweight Workouts
- The Best Exercises For Weight Loss At Home
- Dan John Easy Strength | A Minimalist Bodyweight Workout
- How To Learn Hanging Leg Raises
- 4 tips to do Perfect Pull-ups
- Master The Pistol Squat Progression In 7 Steps
One Arm Pushup Benefits
There are three main reasons why you would want to learn the one arm pushup:
- It allows you to progress the standard pushup using minimal to no equipment
- It forces you to focus on the execution of form rather than on reps
- It requires excellent shoulder mobility and stability
How to do a one arm push up
Check out these steps below in action in our one arm pushup tutorial video.
7 Steps to one arm pushup progression
Step 1: Elevated pushups 2×20
Elevated or incline pushups are a great place to start if you’ve never done a pushup before. They can be done against a wall or on a bench. When using a bench, ensure your hands are placed just outside shoulder-width apart, and your chest meets the bench with every repetition. Sucking your elbows in on a 50-75 degree angle will help you achieve depth in the pushup.
Step 2: Pushups 2×20
We’re taking your pushup to the floor to progress to the next step. Keep your feet together to reduce the stability of the movement to help develop your trunk stability. Next, push into your heels and lower your body so that your chest touches the floor. Drive-up into the top position and repeat.
Step 3: Diamond pushups 2×15
The diamond or tricep pushup helps you get familiar with having your arm underneath your body during the pushup and the strength required to perform that movement.
Keep your feet together and position your eyes to look 30cm ahead of your body. Suck your elbows beside your body and place your hand underneath your chest, so your thumbs meet each other. Lower your chest to the floor, and then push up into the top position and repeat.
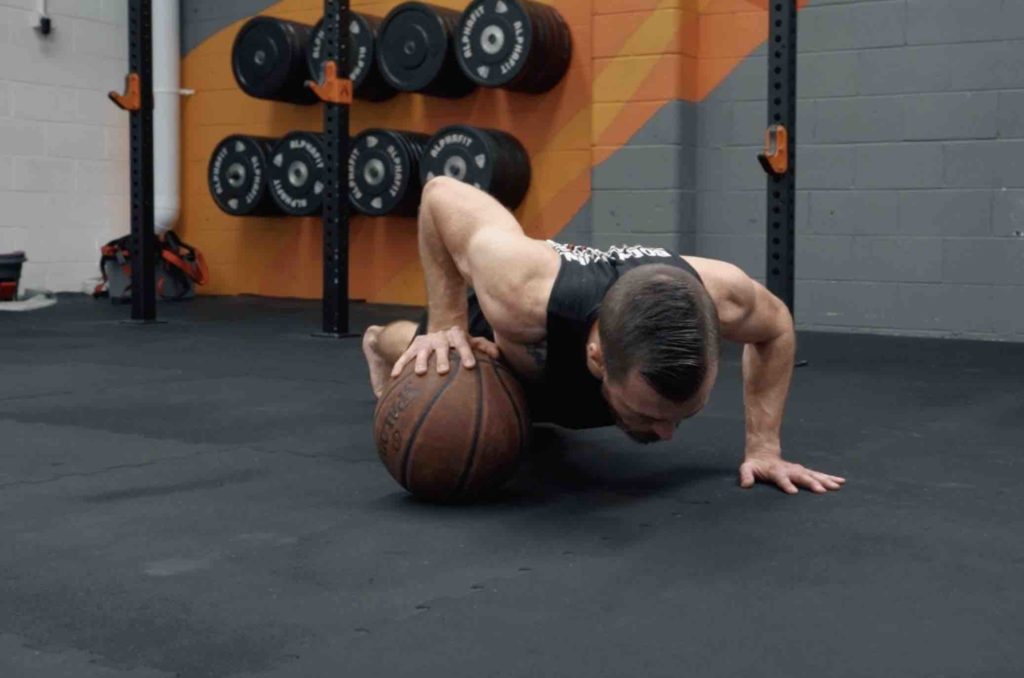
Step 4: Uneven pushups 2×15
The uneven pushup uses a ball or higher surface to create an uneven nature. Start in your normal pushup position with your hands just outside shoulder-width apart. One hand should be on the floor, and the other should be on top of the ball. Next, lower down and push up. Your focus should be driving most of your energy through the hand on the ball. Remember to corkscrew your elbow in on the way up on the elevated arm.
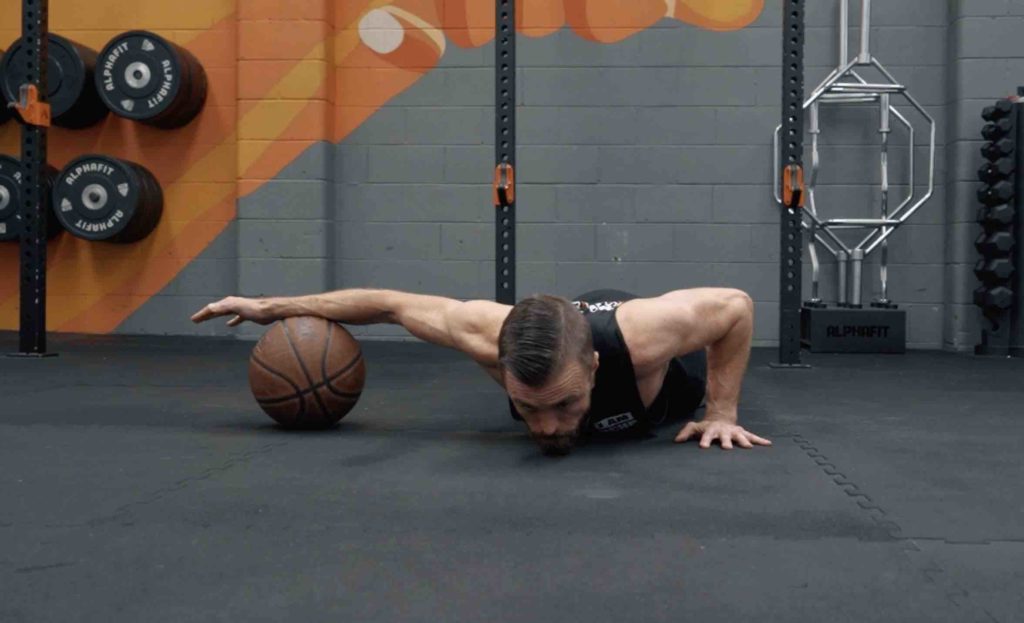
Step 5: Lever pushups 2×10
Set up your lever pushup with your feet spread apart. Ensure your foot is in line with your hand on the floor. Your other foot can be placed as wide as required to maintain stability. Place your other hand on a ball. Your arm rolls out on the ball as you lower your body down. Then drive back up to the top position.
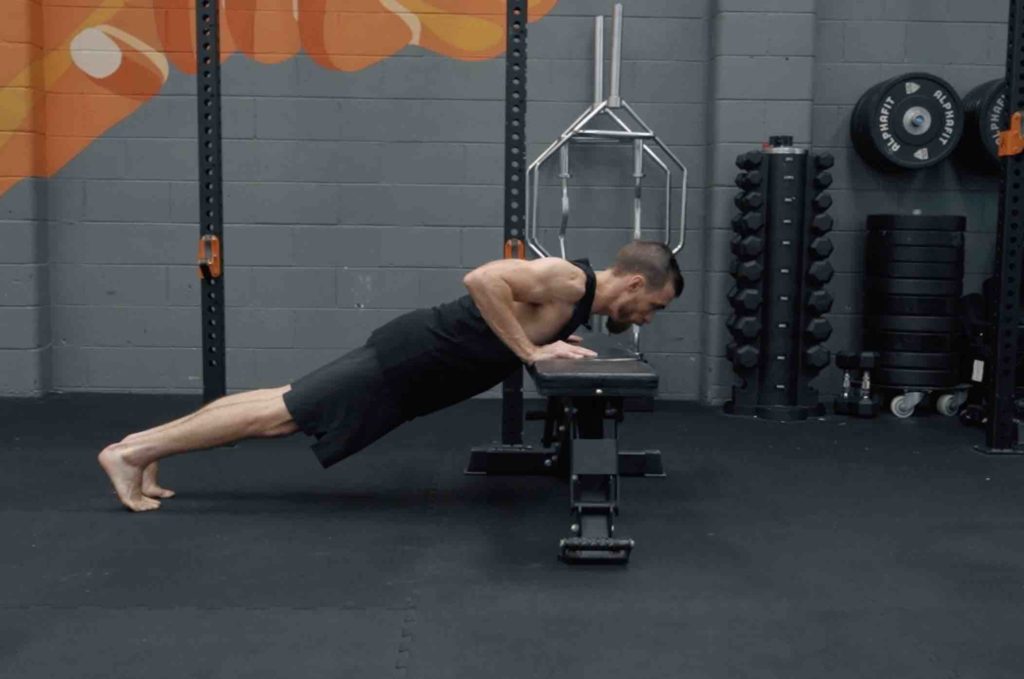
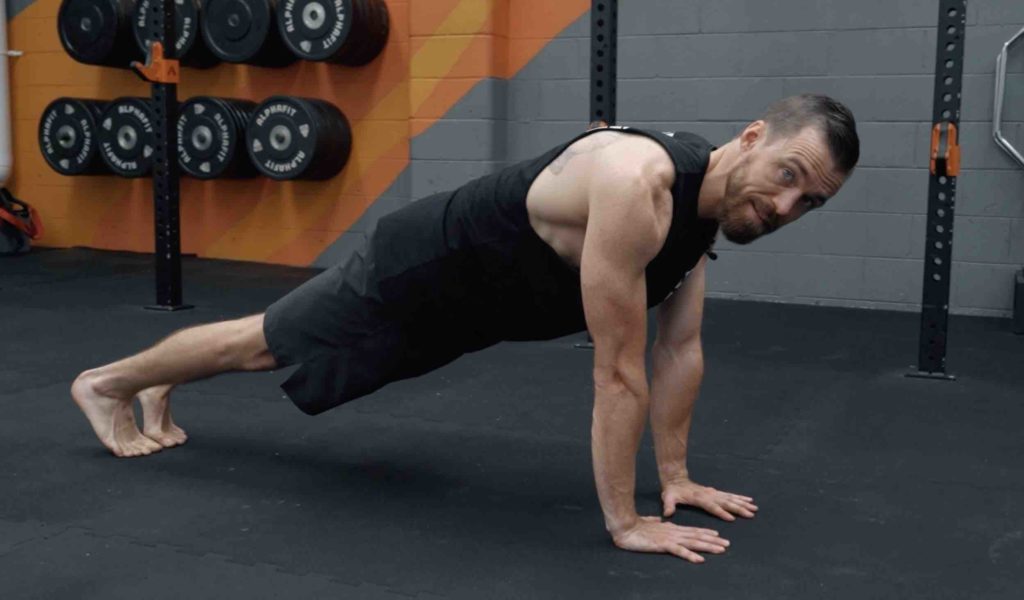
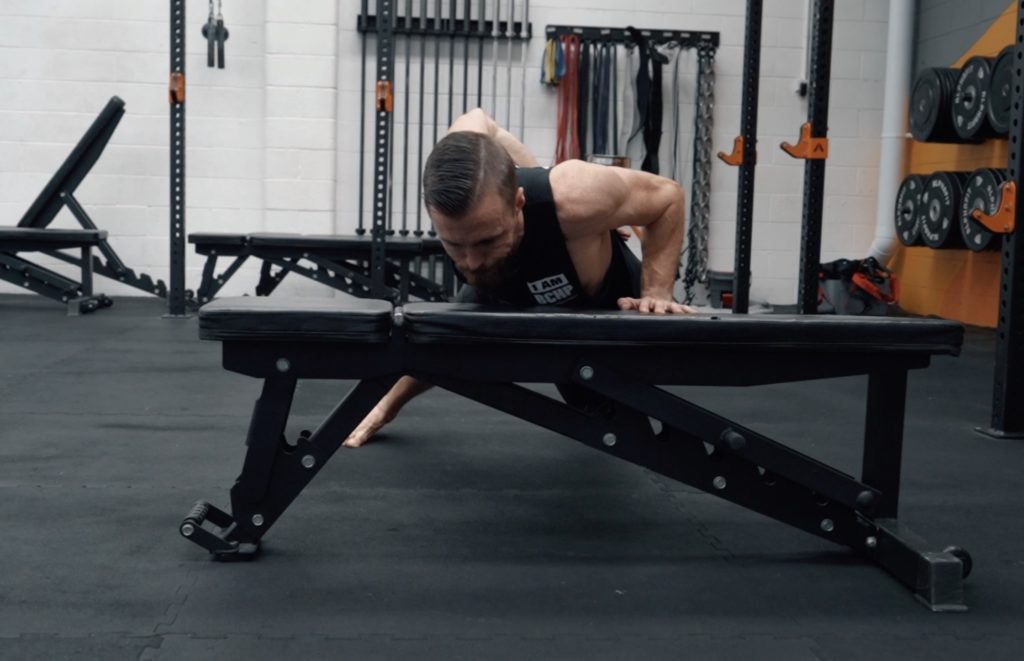
Step 6: Elevated one arm pushup 5×5
Start at an elevated height that feels comfortable, and then progress down when you’re confident. Keep your driving hand in line with the foot on the same side. The other foot can be set as wide as needed to counterbalance. Place your unloaded arm behind your back with the top of the hand pushing into the lower back. Your chest will rotate away from your arm as you lower your body. As you drive up, your chest will rotate towards your arm.
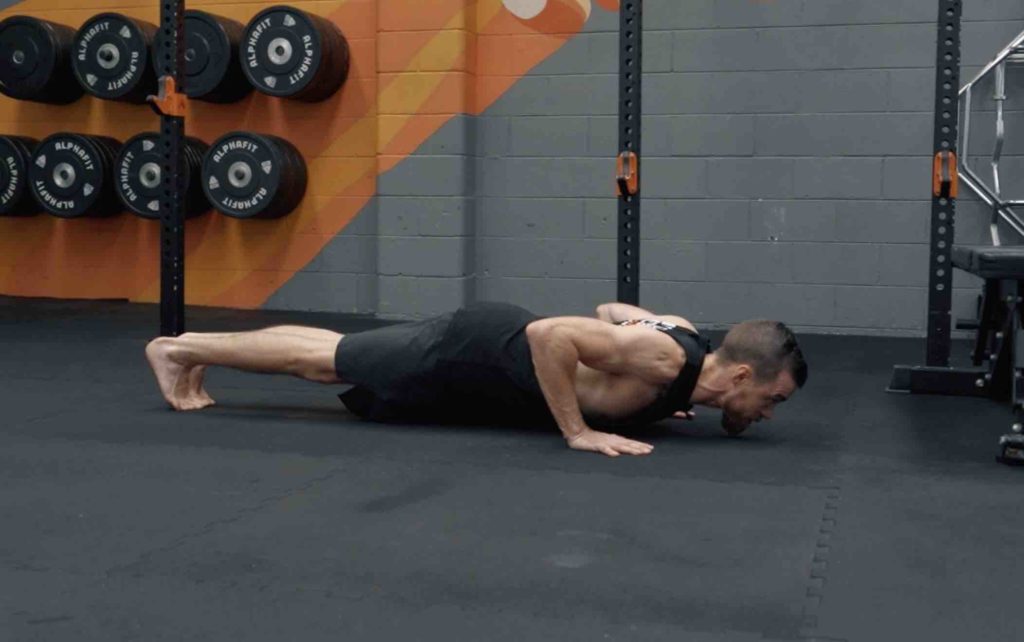
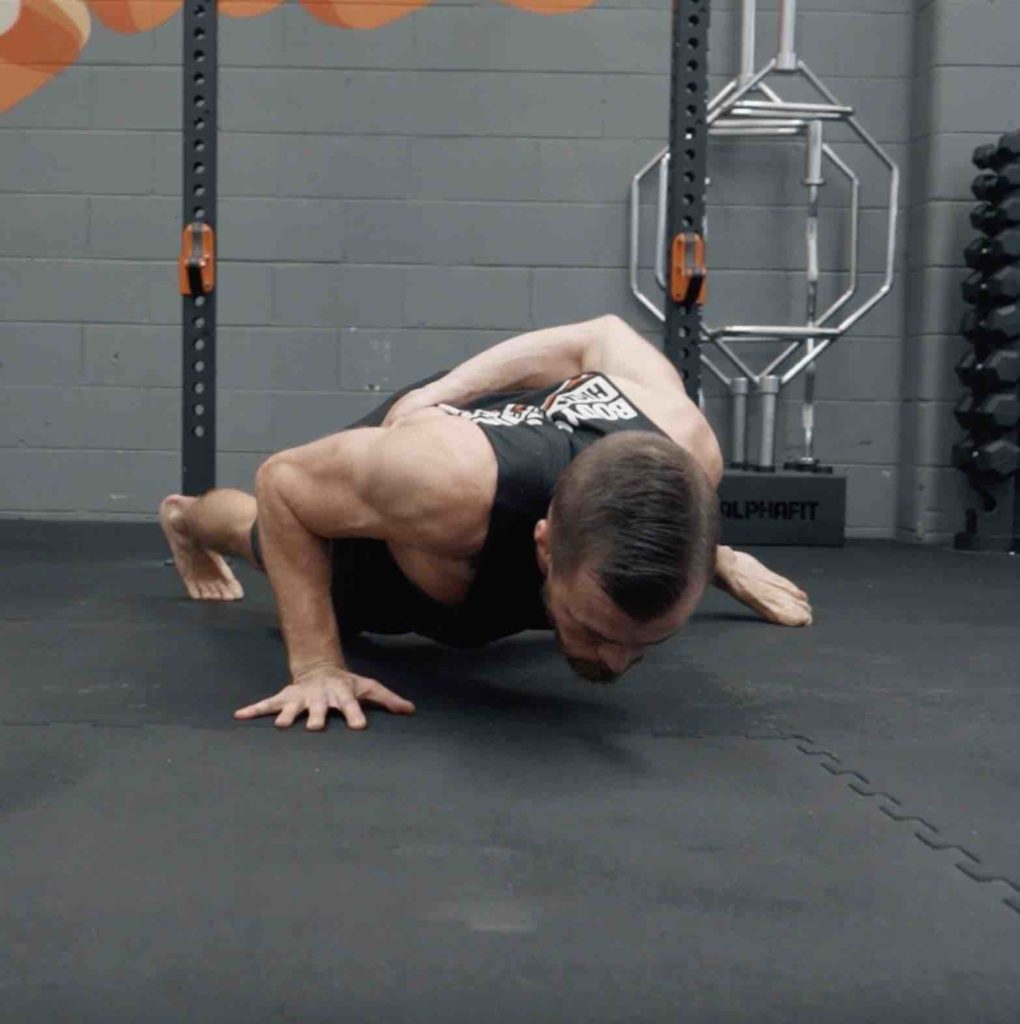
Step 7: One arm pushup
The step you’ve been waiting for…how to do a one arm pushup!
It’s time to take your one arm pushup from the bench to the floor. Spreading your fingers as wide as possible, with your feet placed in a stable position, imagine sucking yourself to the floor. This cue will help encourage your shoulder and lat to stay connected to your body. On the drive out, force your palm through the floor and drive the floor away from yourself.
Now that you know how to do a one arm pushup, you can learn advanced variations such as the decline one arm pushup or the one arm planche pushup.